Sewing a button might seem like a small task, but it’s one of those handy skills that can save you both time and money. Think about it, how many times have you had to toss a shirt or jacket just because a button popped off? By learning how to sew a button properly, you’re not only saving that garment but also giving it a second life. Plus, it’s a quick fix that keeps you from running to the tailor or buying a replacement. Here, we’ll walk you through the process step-by-step, so you can tackle it like a pro, and maybe even feel a little proud when that button stays put!
What You Need to Sew a Button
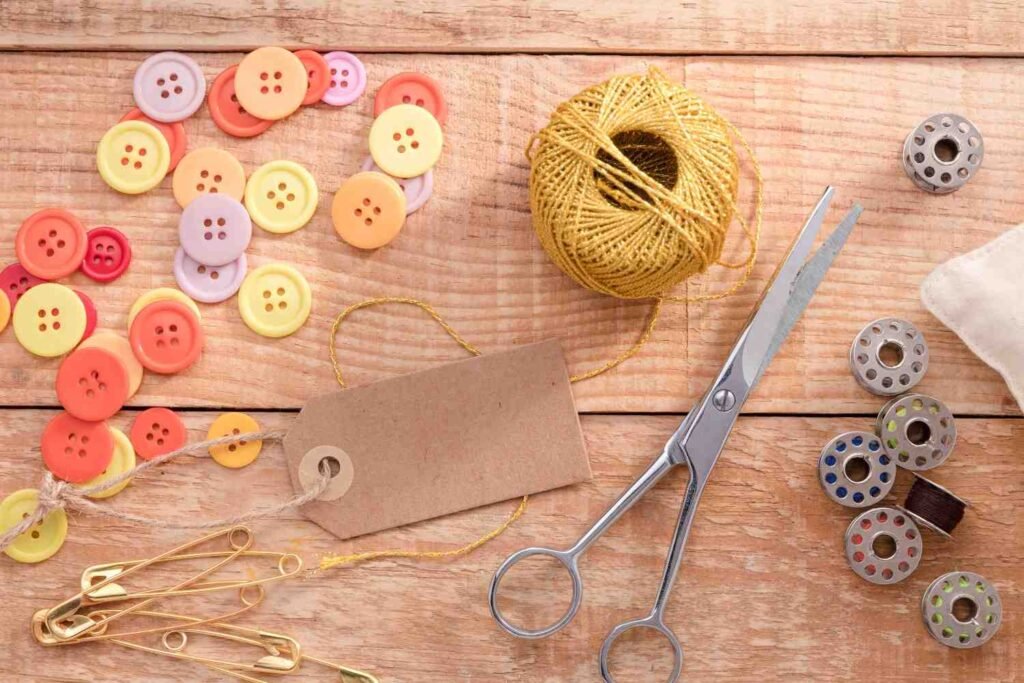
Before you begin, gather everything you’ll need. Having your materials ready will make the process smoother and more efficient.
| Material | Purpose |
| Needle | Used for sewing the button onto the fabric |
| Thread | To secure the button, ideally matching the fabric |
| Button | The item you’re attaching to the fabric |
| Scissors | To trim excess thread when you’re done |
| Pin or Toothpick | Optional, used to create a spacer (shank) between the button and fabric |
Once you have these items ready, you’re all set to start sewing your button.
Step-by-Step Instructions for Sewing a Button
Now that you’ve gathered your materials, let’s go through the process of sewing a button. Whether you’re working with a two-hole or four-hole button, the following steps apply.
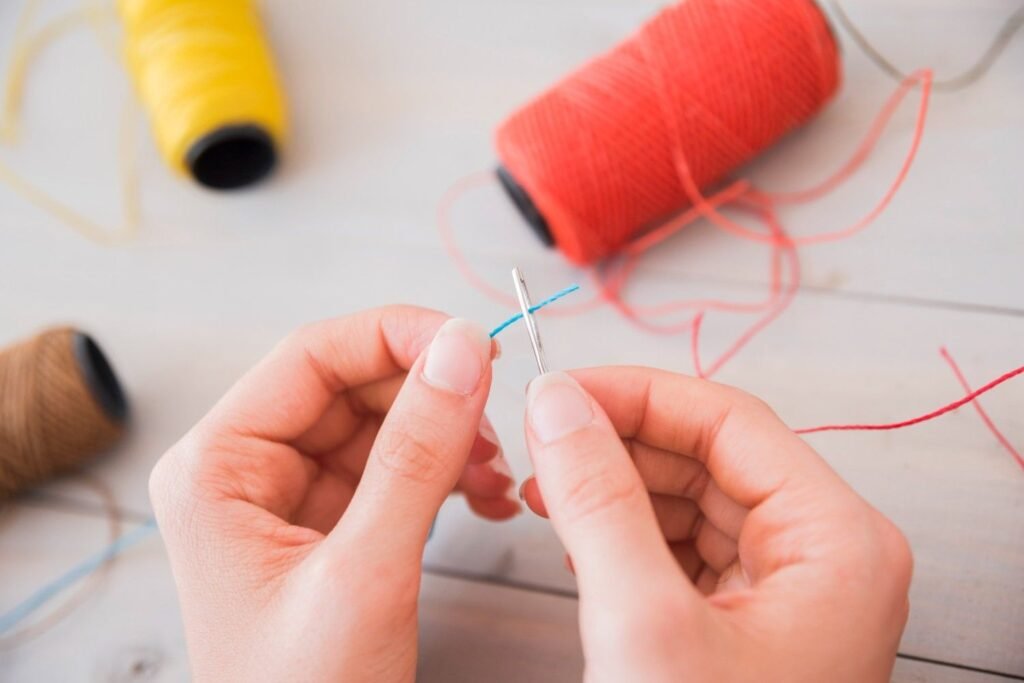
1. Prepare Your Needle and Thread
First, cut a piece of thread about 18 inches (45 cm) long. Thread the needle by doubling the thread and tying a knot at the end. The double thread adds extra strength, ensuring your button stays securely attached.
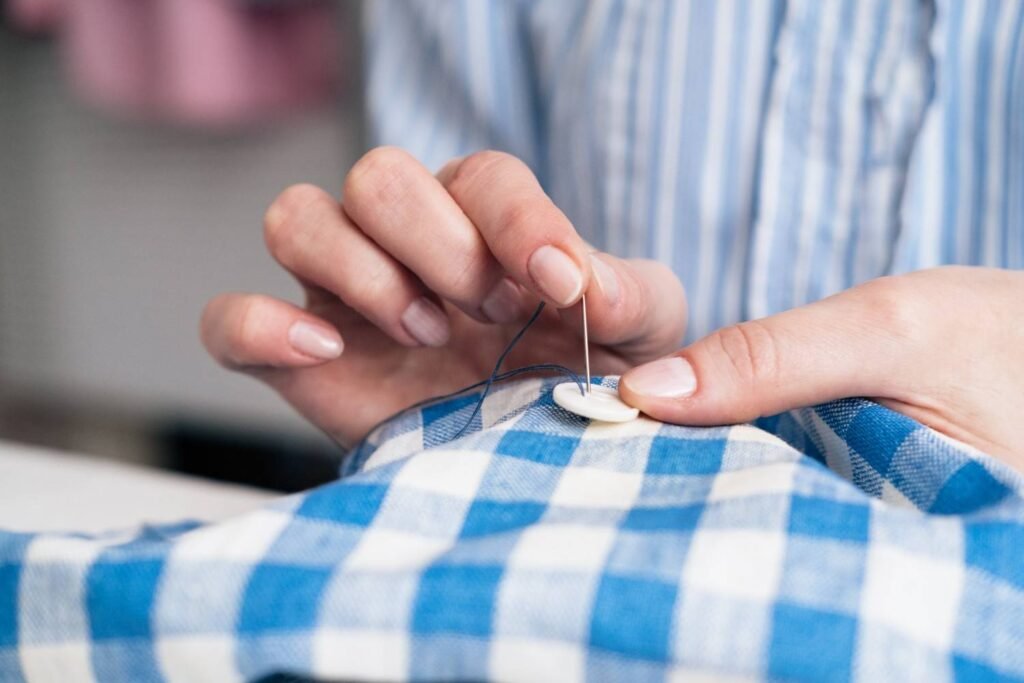
2. Position the Button
Place the button in the exact spot on your fabric where it needs to go. It’s important to ensure that it aligns properly with the corresponding buttonhole on the opposite side. Once positioned, insert the needle from the back of the fabric and pull it through to the front. The knot should be hidden on the inside of the garment.
3. Use a Spacer (Optional)
If your garment needs a little room for the button to fasten properly, like a shirt or coat, place a straight pin or toothpick across the button. This creates a small gap (a “shank”) between the button and fabric, which allows the button to button easily without being too tight.
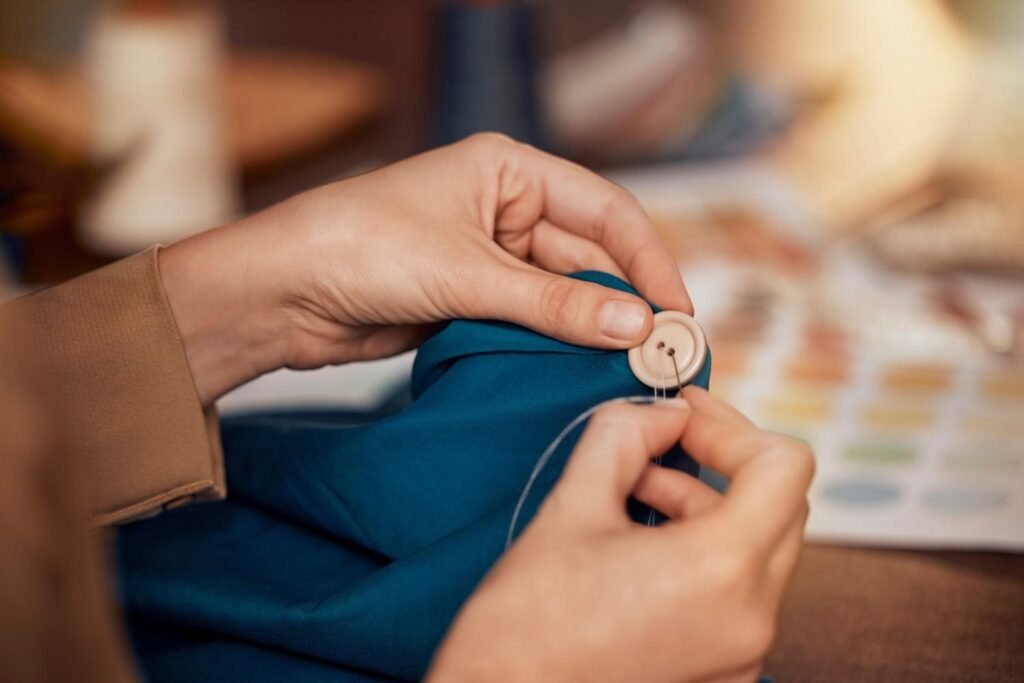
4. Sew the Button
Now, begin sewing the button in place. Push the needle through one of the buttonholes, then over the pin (or toothpick) and through the opposite hole. Pull the thread tight, but not so tight that it eliminates the small gap created by the pin. Repeat this process 6-8 times to ensure the button is securely attached.
For four-hole buttons, you’ll sew one pair of holes diagonally first, then sew the other pair in a crisscross pattern, forming an “X.” This method helps make the button more secure.
How to Create a Thread Shank (Optional)
Creating a thread shank is optional, but it’s especially helpful for thicker fabrics or garments like coats and jackets, as it ensures the button sits comfortably on the fabric. This simple step adds just the right amount of space, allowing the button to fasten easily without pulling on the fabric, making it both functional and visually appealing.
Creating the Shank
- Once you’ve sewn the button a few times, bring the needle up through the fabric, but not through the buttonhole.
- Remove the spacer (pin or toothpick).
- Wrap the thread tightly around the stitches between the button and fabric, making 6-8 loops to create the shank.
- Bring the needle down through the fabric again, securing the shank.
This additional step helps the button sit properly and ensures it remains functional over time.
Securing the Thread
Now it’s time to secure the thread and make sure the button stays firmly attached. Insert the needle through the fabric once more, this time passing it under the button or through the thread shank. Create a small stitch on the backside of the fabric, then pass the needle through the loop of thread to form a knot. Repeat this process 2-3 times to ensure the knot is tight and secure. This final step is what truly locks your button in place, preventing it from loosening with wear and tear, so take a moment to double-check its security before trimming the excess thread.
Finishing Up: Trim the Excess Thread
Once the knot is secure, use your scissors to trim any excess thread. Be careful not to cut too close to the knot; leave a small tail to ensure it stays intact. This little detail ensures the knot won’t unravel over time, giving your button a long-lasting hold and making your repair look clean and polished.
Tips for a Perfect Button
While the process may seem simple, here are a few expert tips to make sure your button stays secure and looks professional
- Ensure the button is aligned: Before sewing, double-check the placement of the button to ensure it’s positioned straight.
- Match the button and thread: Use a button that matches your garment in size and color, and choose a thread color that blends in seamlessly.
- Sew with care: Don’t rush through the stitching—take your time to ensure the button is sewn securely and neatly.
- Use the right thread: For heavier fabrics like denim, use a thicker thread for added strength.
FAQs: Answers to Common Button-Sewing Questions
1. How can I sew a button without a needle?
While it’s possible to attach a button without a needle, it’s far less effective and secure. A needle is essential for threading through the fabric and buttonholes.
2. Can I sew a button onto thick fabrics like denim?
Yes! For thick fabrics, use a heavy-duty needle and thicker thread, such as upholstery or waxed thread, to ensure your button stays secure.
3. How tight should I sew a button?
When sewing a button, make sure it’s tight enough to stay in place but not so tight that it pulls the fabric or prevents easy buttoning. A small gap between the button and fabric ensures it can button easily.
4. Why does my button keep falling off?
If your button keeps falling off, it may be due to a weak thread, improper stitching, or a button that’s too heavy for the fabric. Make sure to reinforce the stitches and use a stronger thread if needed.
Conclusion
Sewing a button is a simple but valuable skill to have in your sewing toolkit. Whether you’re repairing a lost button or replacing one, following these easy steps ensures a secure, professional-looking result. With just a needle, thread, and a little time, you’ll be able to repair your favorite garments and keep them looking as good as new. So the next time a button pops off, grab your needle and thread and get sewing!
